


The fact is that a regular inspection of the electrical installation makes it easier for you to fix problems and detect deficiencies. Furthermore, the immediate repair of any slight problem in the basic infrastructures of your home enables you to enjoy your home with more peace of mind. Today we will explain step by step how to change a plug, but first you will need to see what types of sockets there are.
Types of electrical sockets
The distribution of electrical energy in a house is planned from the very start of the building project. At European level, there is a series regulations that legally establish most suitable technical character of sockets. That is why this is something you do not often repair until you need to of if there is a breakdown. The models to be found in Spain are the same as two very common types in the rest of Europe, South America and Asia. They have the following technical characteristics by which they can be identified.
- Both have two pin input sockets to provide an electrical appliance with electricity. Type C has no earth and it only has a screw to fasten it to the wall. Type F has two transverse contact points enabled to discharge static energy to earth.
- The range of electrical voltage supported is the standard 220-240 V in both cases.
- If we talk about amperage, again both types have the same, reaching a value of 16 A.
- There is connection compatibility between Type C and Type F. A type F cable can be connected to a type C connector, but without earthing the appliance it powers.
- A Type F cable is also compatible with Type E supply sources. This new model can be found in some European countries, such as France.
Materials required and safety precautions
For a simple repair to the socket or to replace any a part, a flathead screwdriver is all you need. To do something more complicated, like relocating the socket, you will need some other tools like a wire stripper, corrugated tubing and the parts for a new socket.
It is advisable to remove any obstacles that may impede visibility and the correct handling of cables all around the work area, because this is a job that is so simple that it often leads to overconfidence that later causes problems. And, of course, before starting work on electrically conductive elements you must make sure that the electricity is switched off.
The electrical panel for the local installation is the device that controls the flow of electricity into the home. In complex installations, or where there are devices that require uninterrupted supply, it is advisable to be very familiar with the internal electrical distribution. If you see that the complexity of the repair exceeds your knowledge and skills or you fear putting yourself at risk during the repair, it is most advisable to call a qualified technician. Always remember that safety should take precedence in any emergency.
The Electro-technical Regulations for Low Voltage include the norms applicable to any type of installation connected to a low voltage supply source. There is now such a broad selection of domestic appliances being used in a large number of homes with the development of technologies including air conditioning and home automation systems, that reliable, professional information on these matters is essential to avoid many problems.
How to: Change a socket
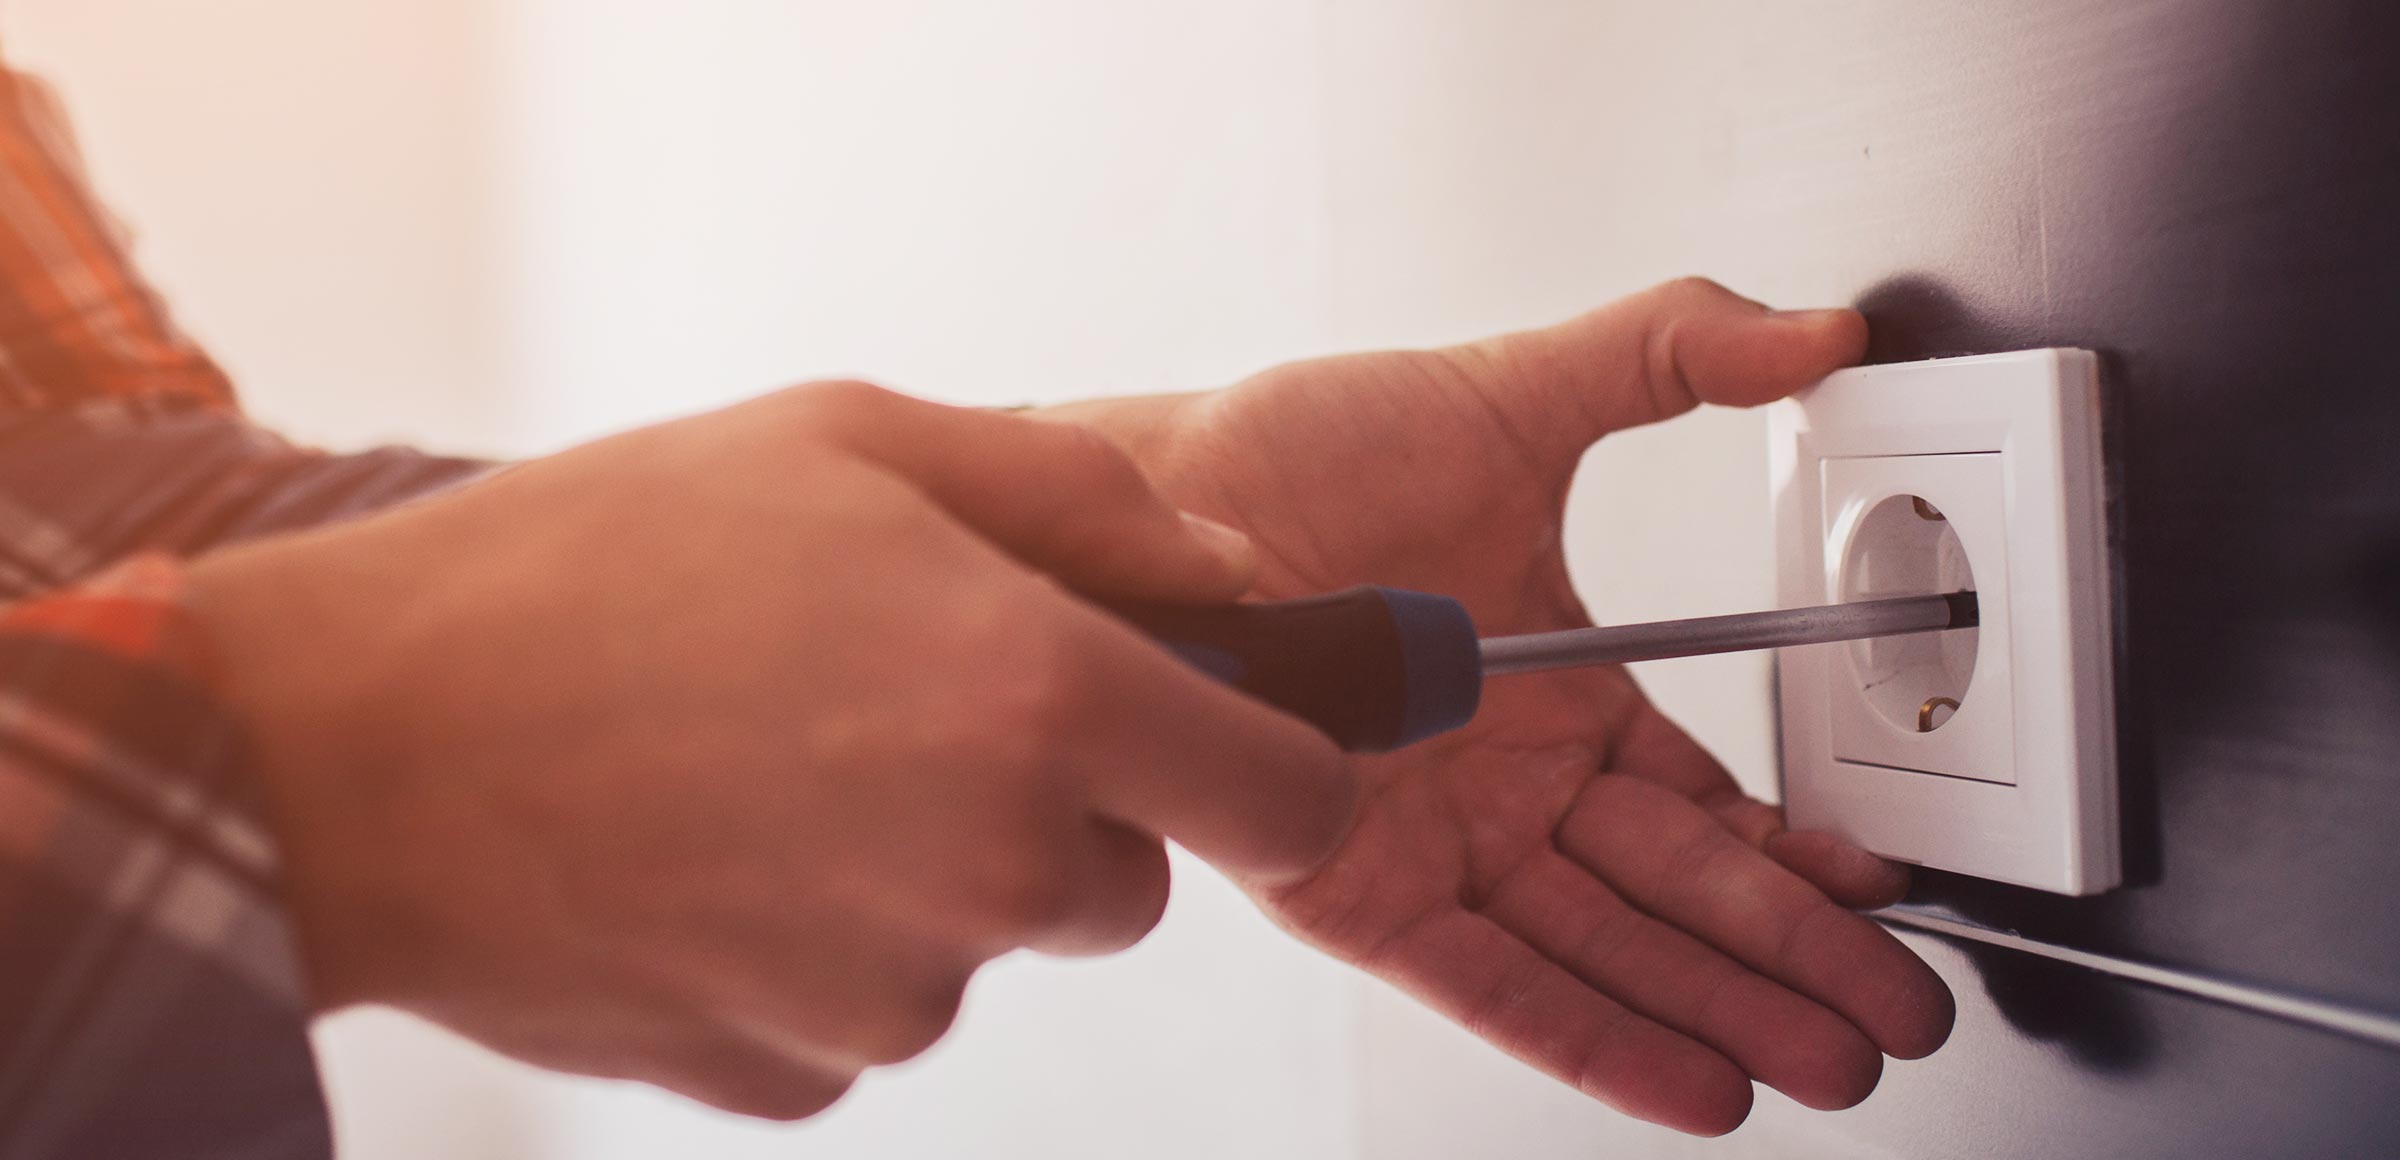
Simply fixing a socket is a simple operation. After ensuring that the electricity in the working area is switched off, you should separate the outer socket cover from the base. With a screwdriver this should not take you more than a minute. Then you will only have to connect the cables to the device.
If you want to relocate the socket, this is equally simple, but it will take longer. First you will need to transform the socket case into a junction box. A plastic lid will show where it is located on the surface of the wall. And inside this, the cables leading to the new socket will be connected. For this, the boxes are usually provided with a lateral, separable plastic cover that enables a corrugated tube to be pulled through a space on the surface of the partition. The space is made through the fluting between the bricks.
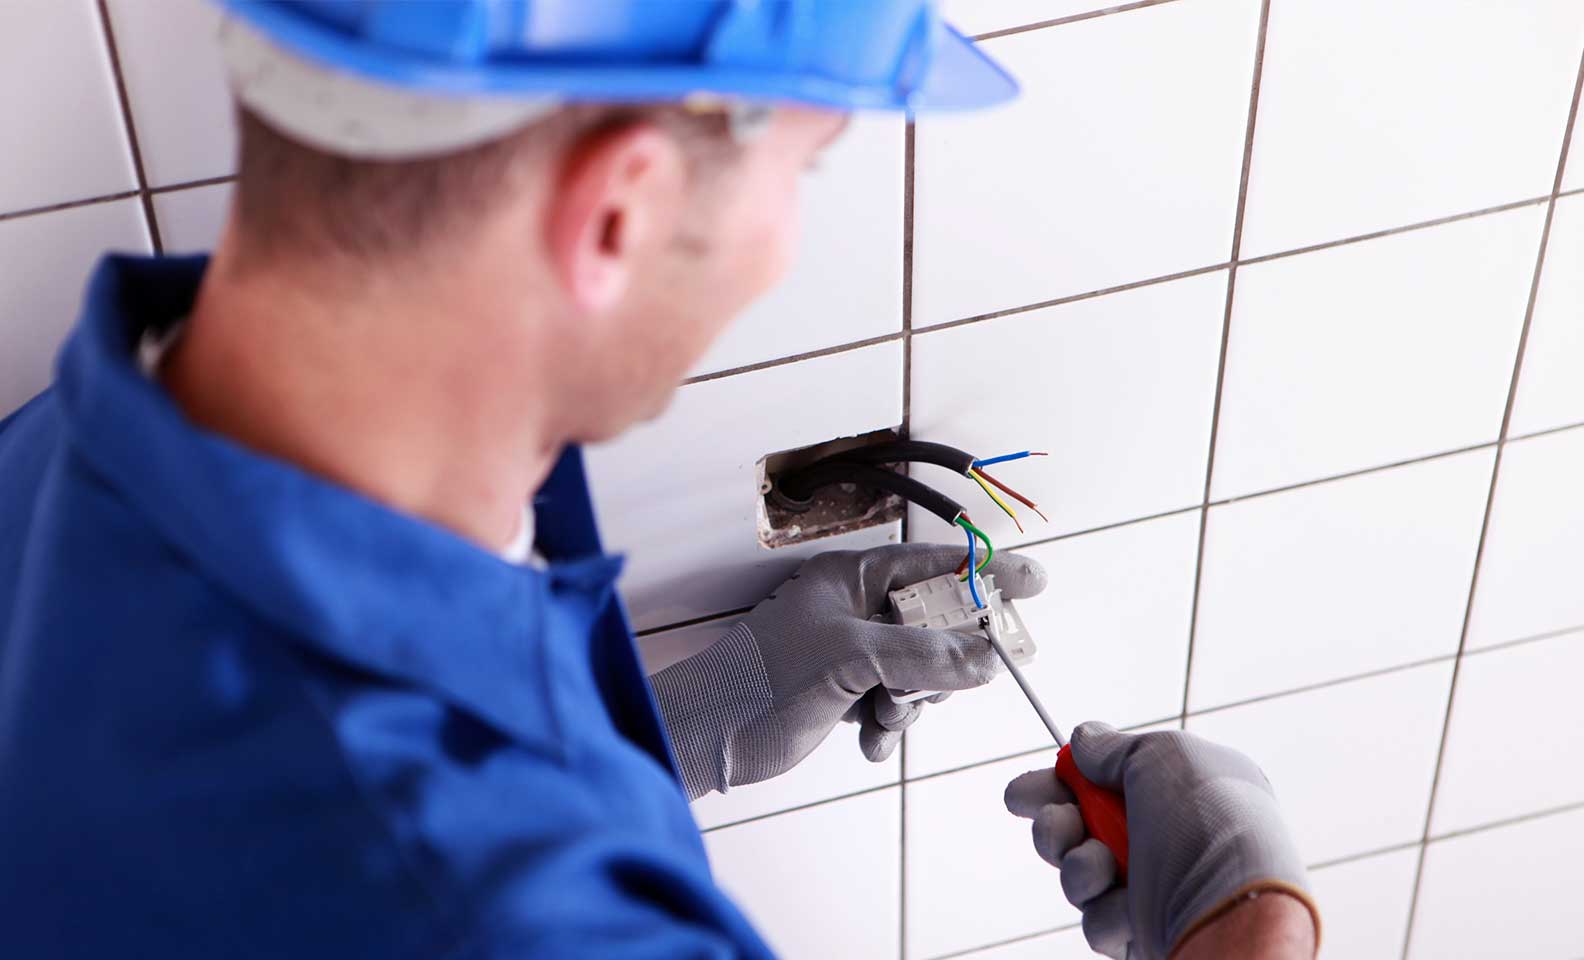
A cable guide is used to thread the electric cables easily through to the new location. It is important to ensure the continuity of the colours of the cables involved in the connection. Blue and brown represent the neutral and live phases respectively. The green and yellow cable is the earth. Finally, and after checking that the new device works correctly, you will need to repair the damage to the surface of the partition.
The opportunity to contract a comprehensive repair service
This guide will help you to change a socket by yourself. But there are times when something unforeseen prevents you from doing this. There may also be times when you cannot change the socket, either because you do not have time, there are safety issues or you have doubts about procedures or materials.
To make sure changing a socket is not a problem, Endesa has developed the OKLuz Assist technical assistance service. With this product, a qualified technician who has undergone the demanding quality controls of our company, will travel to your home to take care of any small urgent electrical repair that is required.
OKLuz Assist provides unlimited support 24 hours a day, 365 days a year. Whenever required, our technician will be in your home in less than 3 hours. This service includes one repair of white goods domestic appliances per year and one repair of the electric water heater. You can also have the services of an electrician twice a year for three hours each time, and this includes electrical installation and replacement work. You will no longer need to worry about the installation of lamps and devices or changing switches and sockets. With OKLuz Assist you can solve the problem with a phone call.
If you are an Endesa customer, you can contract OKLuz Assist for only €2.55 per month the first year and pay it comfortably in your electricity bill. To find out about all its advantages and contract it, go to our website.